YOU SPENT $2000 ON WHAT???
Page 1 - Page 2 - Page 3 - Page 4 - Page 5 - Page 6 - Page 7 -
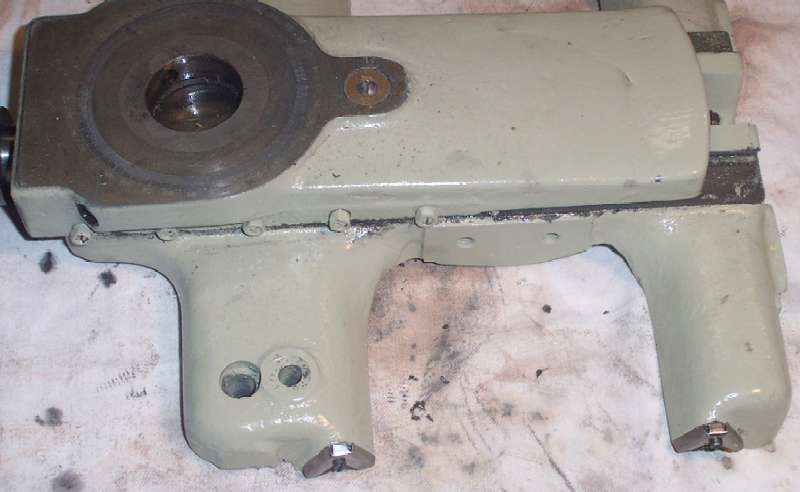
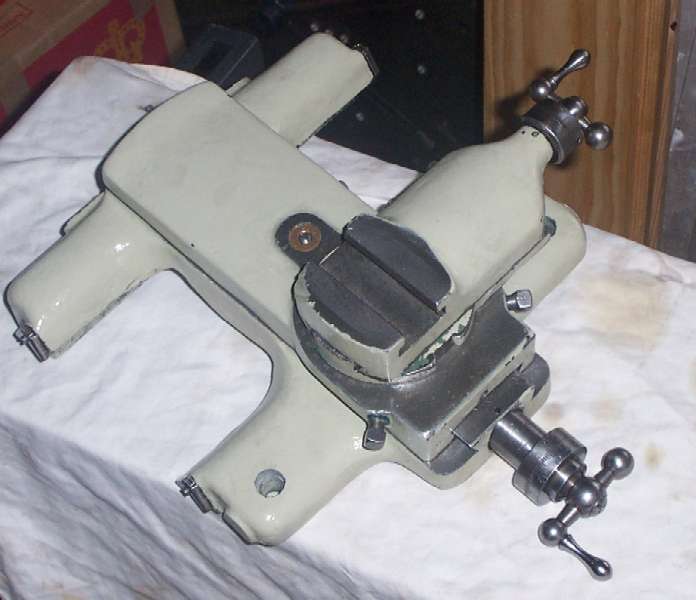
Off comes the saddle. Not quite - the screws on the apron oil cover foul the bed riser at the tailstock end. Undoing the saddle screws let it come out almost, but not quite, enough. I took the top of the saddle off and then the apron just slid off to the right.
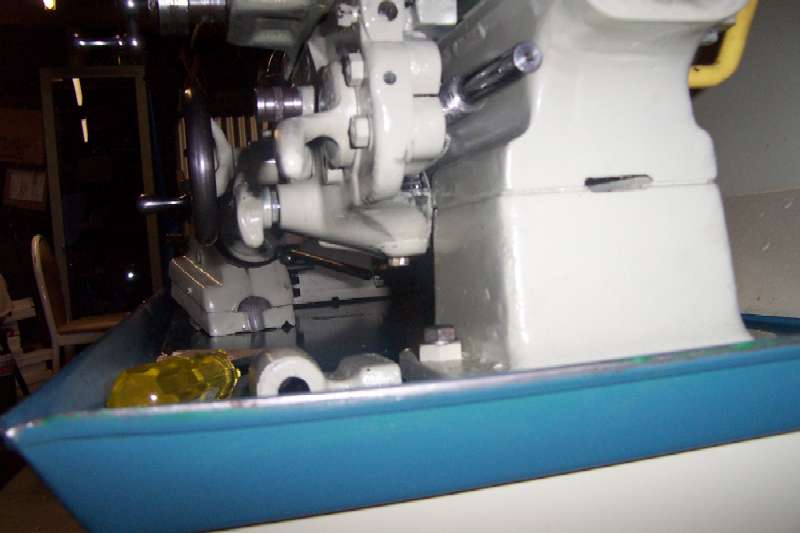
I was not a happy lad on seeing the inside of the apron for the first time. I decided to do the saddle first and then the apron. No point in adding to my depression.
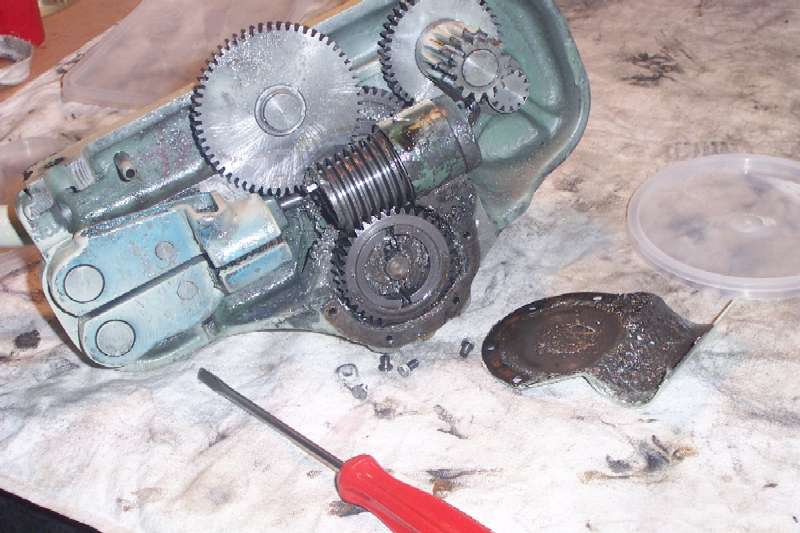
Disassembly was pretty straight forward. Most of the work involved scraping paint off the machined surfaces and getting rid of the old grease and swarf. Maybe J&N will be putting some of my money toward buying a degreaser and parts washer? Nah, too much trouble. Just paint it.
Did I mention grease and swarf under the paint? This is a gooey mix of all three.
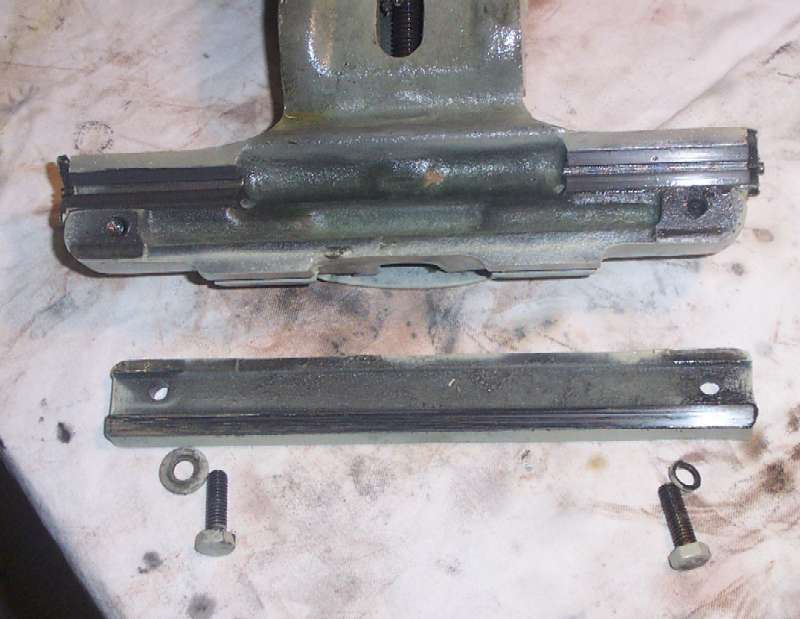
Ditto under the rear of the saddle. Note the matching washers under the bolts. Almost all the paint - grey-green above - wiped off with a rag because there had been no surface preparation, such as scraping off the crap, before spraying.
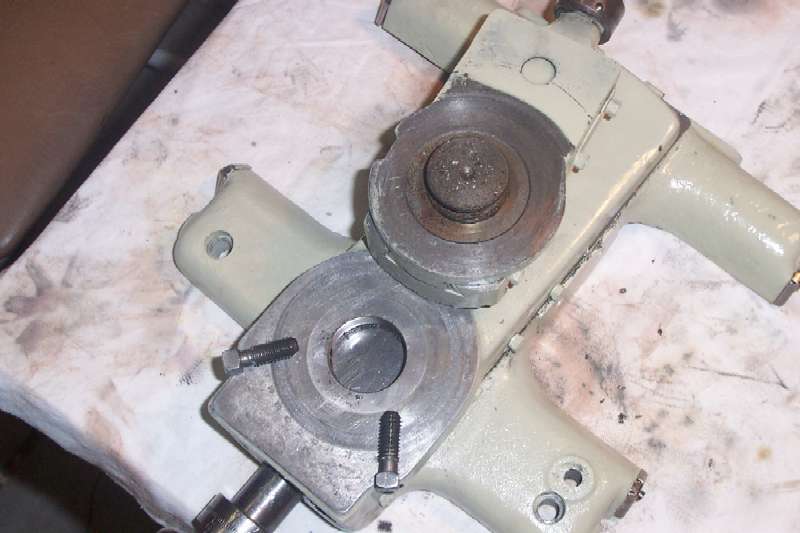
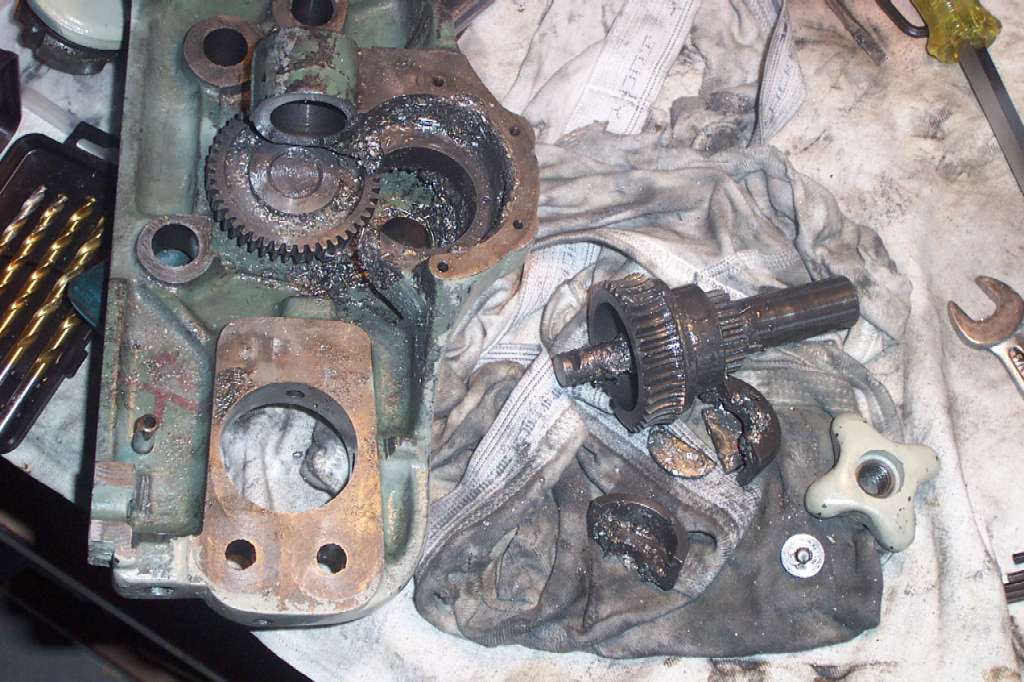
The topslide had obviously spent a long time without attention.
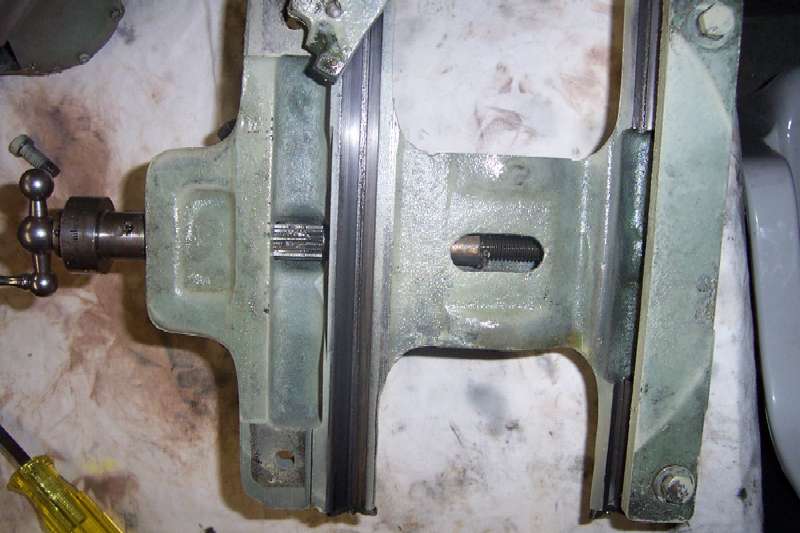
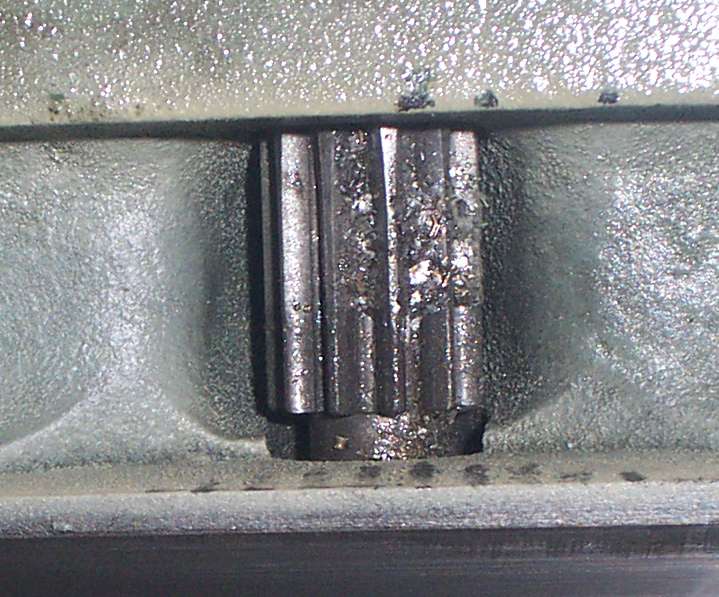
Precision adjustments had obviously been made to the gib screws during the "assembly and alignment" phase of the rebuild. Note the right hand end of the dovetails.
I guess this is why the topslide was a little stiff. Funny, I'd have thought they'd have picked it up during the "rebuild". Oh well, maybe this came from test turning after the lathe had been "aligned".

Good news - it only took until late Sunday afternoon before I considered the saddle finished and could make a start on the apron. Two and a half days.
April 14 2002
The pictures tell more of a story than I can. Remember this work was done by a firm of professional machine reconditioners and the agreed terms were "rebuilt, repainted, assembled and aligned." Next time remind me to buy the pallet of parts and do it myself. After all, I'm "a bloody perfectionist".

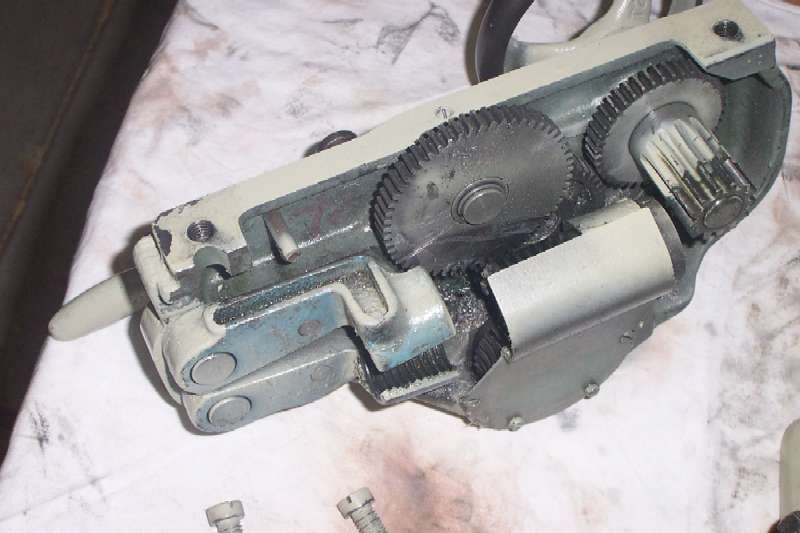
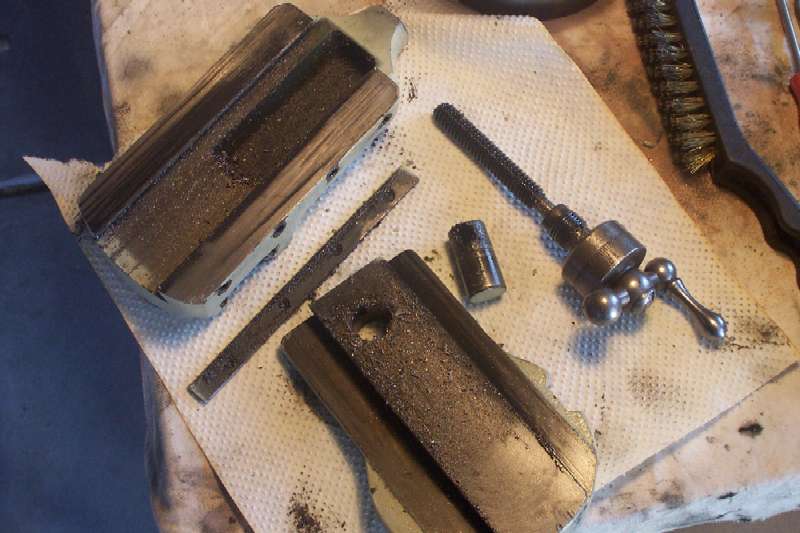
See that really short button head screw at the bottom left of the star wheel? IF YOU EVER NEED TO TAKE ONE OFF, REMEMBER THE BLOODY THING IS LEFT HAND THREAD. Mine was well rusted in and painted over, by the time I realised something was wrong I'd torn the head off. I also didn't realise it was only a 3/16" screw - the head suggested it was at least 3/8" and would require appropriate force.

So far I've gone through two rolls of paper towels, two litres of kerosene, several cloth diapers and yes, Tom and Bob, one pair of Y-fronts.
Once the apron and saddle are reassembled, I hope to have more information on doing the headstock bearing preload, and then I'll be in business. In the meantime, any advice or assistance is welcomed.
Thanks
Charlie
- Page 6 - Page 7 -